Homework 7: Blog Part 2
Due April 5th at 11:59 PM
This homework is a continuation of Homework 6. In this assignment, you'll be taking your backend and connecting it to a provided frontend to create a full stack blogging application. Your backend is mostly complete for this task, but you may need to update some routes and add some routes to work with the provided frontend application. By the end of this assignment, you'll have a fully functional bloggin platform that users may create a accounts on, log in, create blog posts, and comment on posts. This homework will give you experience working with full stack development, connecting a frontend to a backend, and working with cookies for authentication.
Assignment Goals
- Connect a backend to a frontend
- Learn to work with Express.js alongside React
- Utilize cookies for authentication and data transfer
Introduction & Installation
Starter CodePremise
Imagine you are a web developer for a tiny startup called "PennBlog". You have already written some backend code for the functionality of a blogging platform, and the frontend team has just handed you the frontend code for this application (your starter code). Your manager has tasked you with connecting the frontend to your backend, and making any necessary updates to your backend to make sure the frontend works properly.
At the end of the day, your blogging platform must meet the following requirements:
- Users can create accounts and login to the system
- Each user is tied to a singular blog and profile
- Users can view the blogs of all other users on the platform
- Users can create, edit, and delete their own blog posts
- Users can view comments on their blog posts and add comments to other users' posts
- Users can delete comments on their own posts
Files
Your starter code for this homework includes the most of the frontend code and configurations you need. Upon installing the starter code for this project, you should have the following files:
- A client folder containing a React/Vite project
- An empty server folder to import your backend code
- A package.json with a concurrently script
You should import your backend code into the server folder. This homework is written the expectation that you have already completed homework 6, so you should have all the necessary backend code already written to just import into this starter code. You may need to make some updates to your backend code to make sure it works with the provided frontend, but you should not need to change too much of your existing code. The main focus of this homework is connecting your backend to a frontend, so you should try to reuse as much of your existing code as possible while making the necessary adjustments to work with the frontend.
Since we have both a frontend and a backend to this application, you'll need to install the dependencies on both the frontend and the backend for this application to work. The common practice for this is to have a package.json file in both the root directory (which contains scripts to run both the frontend and backend concurrently), and a package.json file in both the client and server folders that contain the dependencies for each side of the application. Make sure to run npm install in both the root directory, and within the client and server folders to install all necessary dependencies.
The root directory contains a singular dependency, concurrently, which allows you to run both the frontend and backend at the same time with a single command. This makes it much more convenient to work with a full stack application, as you can start both the frontend and backend with a single command. For development of this project, run npm run dev from the root directory after installing all your dependencies, and this should start 2 localhosts to host your frontend and backend within the same terminal.
NOTE: Installation
There is an incompatibility warning at the moment when you install the frontend of this application (tailwindcss/vite has not updated for Vite 8.0). You may install the frontend with the flag --force (npm install --force). This should work properly and allow you to install the frontend dependencies, but you may see some warnings in your terminal about peer dependencies. This is a known issue with the current version of Vite and the tailwindcss/vite plugin, and should not cause any issues with the functionality of the application.
Instructions
Part 0: Import your Backend and Run the App
First, you should check that your fullstack application runs properly with the provided frontend and your existing backend code. Start by importing your backend code into the server folder of the starter code. You can use the same Redis Cloud database and environment variables that you set up for homework 6 for this assignment as well.
Next, you'll need to add CORS configuration to your backend to allow your frontend to make requests to it. Since your frontend and backend will be hosted on different localhosts, you will need to set up CORS in your backend to allow requests from the frontend's localhost. We've provided the cors package in the backend dependencies, so you should use this package to set up CORS in your backend. Import CORS into your main server file and add the following line:
app.use(cors({ origin: 'http://localhost:5173', credentials: true }));Once you've installed your backend and installed the dependencies for the frontend, run the command npm run dev from the root directory to start both the frontend and backend concurrently. This should start two local servers, one for the frontend and one for the backend. The frontend should be hosted on localhost:5173 and the backend should be hosted on localhost:3000. Check that you can access both the frontend and backend in your browser/postman, and that there are no errors in your terminal. If you run into any issues with this, make sure to check that your environment variables are set up correctly, and that your backend code is properly imported into the server folder.
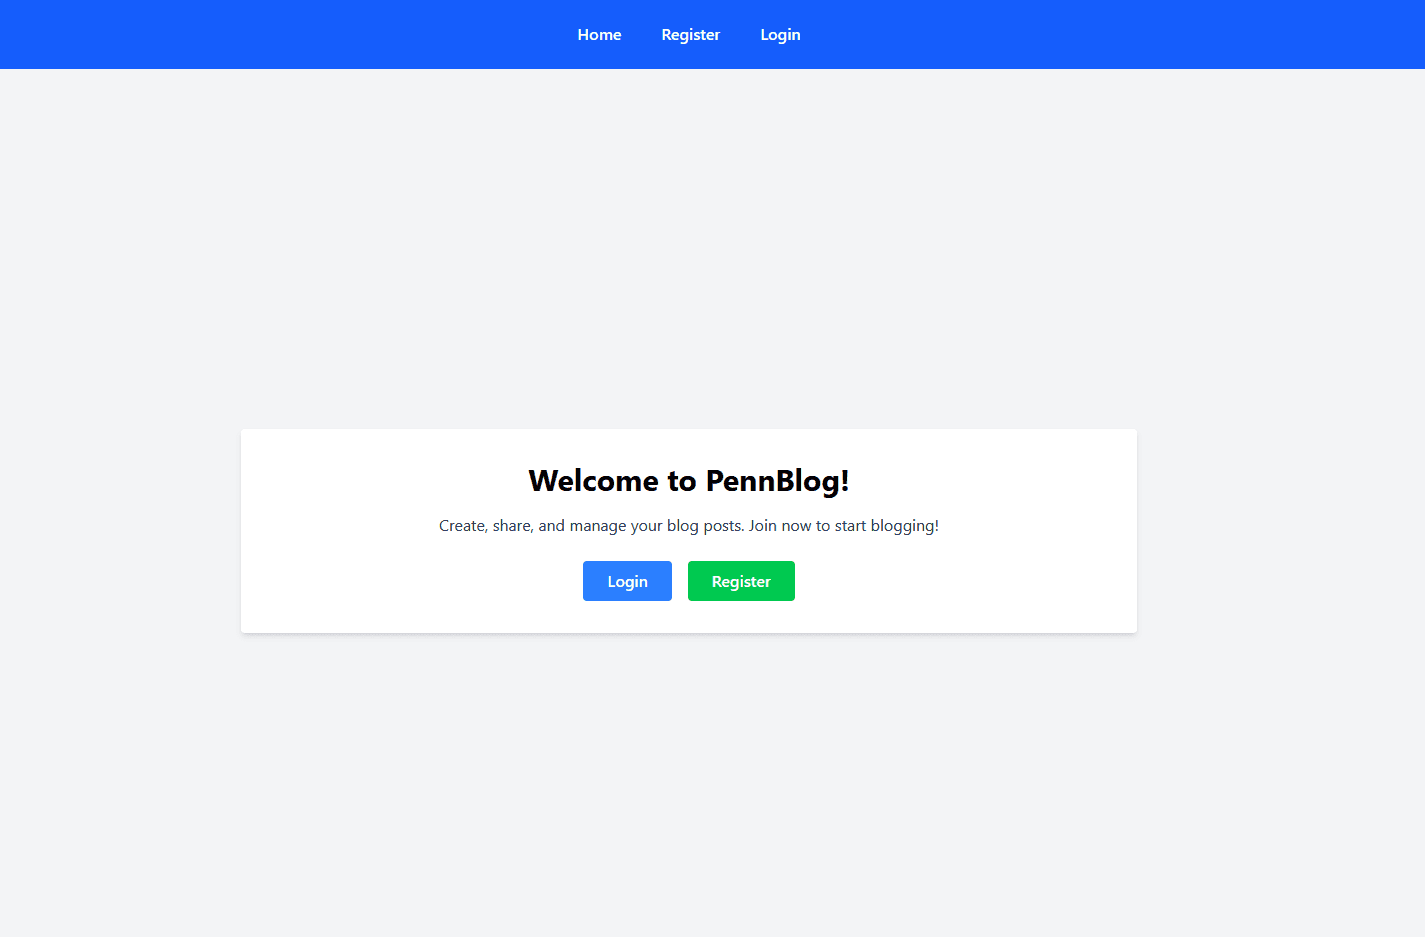
If everything is properly installed, your frontend should look like the following picture, at the homepage of the application:
Part 1: Routing
Files: App.tsxYou'll notice that your provided App.tsx has a React Router from react-router-dom set up for you. However, the only route provided is the Home route ("/"), which just shows a welcome message. The rest of the routes for this application are not set up yet, and you will need to add these routes to the frontend to connect it to your backend. You should add the following routes to the frontend:
- /register, going to the page <Register / >
- /login, going to the page <Login / >
- /profile, going to the page <Profile / >
- /posts/:user, going to the page <Posts / >
- /posts/:user/:id, going to the page <PostDetail / >
Each of these pages should direct to a different component provided in the starter code as shown above. Make sure to test a few of these routes to be sure that they work properly. The Navbar directs to the registration and login pages initially, but you can also test the profile to see that it shows nothing if you are not logged in. (a normal user would not be allowed to access that page without logging in first)
Part 2: Registration, Login, and Home
Files: Login.tsx, Register.tsx, Home.tsx
Implement the login and registration features in their respective pages. The starter files have provided you the user interface and components for these pages already, so you just need to fill in the TODOs on each of the pages with connections to the backend.
For the registration page, you should connect the form to the backend route for registration that you created in homework 6. When a user fills out the registration form and submits it, it should send a request to your backend to create a new user with the provided information. Make sure to handle any errors that may occur during registration (such as username already taken) and display appropriate error messages to the user (on the frontend, not just in the console!). Upon registration, a success message should be shown and the user should be redirected to the login page. Use the provided navigate function from useNavigate to redirect the user after successful registration.
Similarly for login, you should connect the login form to the backend route for login. Login also involves attaching the JWT token and the current user's username to temporary session cookies. Pay attention to the documention, as you will need to set certain flags in the cookies and set an expiration time for the cookies. Upon successful login, the user should be redirected to the home page.
Test the login and registration features. You should be able to make multiple accounts easily, and then log out of them with the navbar button that shows up. If you don't see new navbar buttons, this means that your JWT token in your cookie has been set incorrectly! Check util.ts for some helper functions that check for the presence of the JWT token in the cookies, and use these functions to debug your login functionality if you run into any issues. (You'll also find them useful later on!)
Once your are satisfied with your login and registration functionality, implement the homepage TODOs. These TODOs will involve populating the homepage with the blogs available in the database. Each user can only have 1 blog, so this is also a representation of the users in the database. The current logged in user's blog should be displayed on top, while the rest of the blogs should be displayed below (excluding the current user).
For this home page, you will need an extra route in your backend to get all the blogs in the database (Get /blogs or something like that). This route should query the database for all the blogs, and return them to the frontend to be displayed on the homepage. Make sure to test this route in postman and on the frontend to ensure that it works properly and displays the blogs as expected.
Part 3: Profile, Posts, and Post Details
Files: Profile.tsx, Posts.tsx, PostsDetails.tsx
Now that basic authentication is working and you can see the blogs on the homepage, it's time to implement the core functionality of the blogging platform, which is creating, editing, and deleting blog posts. The profile page is where a user can view and edit their own profile information (such as their display name and bio), while the posts page is where a user can view all the posts for a specific user, and the post details page is where a user can view the details of a specific post and edit or delete that post if it's their own. Implement the TODOs for each of these features in their respective pages.
It may be helpful to see how each of these pages are connected to the components they use, for the sake of seeing how data is being passed down and displayed. While we don't require you to edit anything in the components folder, understanding their structure can help you implement the features more effectively.
Additionally, pay close attention to the provided states and parameters in the starter code. If a state is defined, it will likely get used somewhere in within the code to update a frontend component!
At the end of this process, you should have a fully functional blogging platform! Refer to the video demo below to see and example of all of the features of this app that you will need to implement.
Part 4: Reflection Questions
For the final part of this assignment, you'll be writing a reflection on the security and optimization features of this application. The design of this application on the frontend was intentionally made to reflect certain web vulnerabilities and optimization issues. Additionally, we did not require you to update much of the backend for this assignment.
Within your README file (questions provided within the starter code), you will answer the following questions:
- What security vulnerabilities may be present in this application? How would you go about fixing these vulnerabilities? Please be specific as to what feature may be causing the vulnerability, how an attacker may exploit it, and what steps you would take to mitigate the risk.
- What are some possible optimization and UI/UX issues, either in the current backend and frontend code? Given time, would you design the frontend or backend any differently to improve them? If applicable, describe any changes you've already made to them in your final submission.
- Imagine you want to deploy this application. Research and describe a possible plan to deploy this application efficiently. This can involve considerations such as refactoring the code to different frameworks or considering the architecture of different deployment environments as well.
You don't need to write a formal essay for each question, but we are looking for thoughtful and detailed responses that show that you have a good understanding of security, optimization, and deployment considerations for this app.
Submission
README
Answer the provided reflection questions within the starter code README file. In this reflection, you will also indicate whether or not you used AI, and also document your usage of AI as well. Please don't forget this step, as it is important feedback for the homework and the content of the course!
Submission
Submit your code through Gradescope as a .zip file that contains your project. Make sure your project includes all files you worked on during this homework and your README.md file. Make sure the submitted file structure within your submission is exactly or similar to the file structure you used to run and develop the project. Points will be taken off for malformed project structures in the final submission! Additionally, do not include the .env folder in your submission! We will be grading your project with our own database to test how your backend interacts with it, so there is no need to include your own environment variables in the submission.
Before you submit, make sure you lint your code for style errors using the command npm run lint. You should run each of the linters for both the frontend and backend separately to check for any linting errors.
For this homework, we've provided a rubric file named RUBRIC.md in the starter code. Make sure to read through it carefully and ensure that your submission meets all the requirements outlined in the rubric. This will help you maximize your score and ensure that you've covered all necessary aspects of the assignment.